
Wednesday, September 28, 2011
PEACOCK PAGE
Friday, September 9, 2011
BACK DRAWING AGAIN

Now, how will I color the mushroom? Bright colors or dull browns and greys. Hummmm
Tuesday, September 6, 2011
TEARING THE PAPER
After choosing the paper you will use begin by drawing a circle on the back of the paper. I usually draw more than once circle since I layer. But the bears are so cute that you might want to make more than one bear. Don't think your circle needs to be perfect. You will find that whatever you draw the paper will dictate what shape the head takes.

Taking a child's or if you are fortunate, an artist's paint brush paint with water around each circle. Don't get too much water on the paper. Keeping your water on the line make sure you soak through to the front. I find that painting around the circle a number of times with less water will keep you from soaking your entire circle.
Once your circle is wet, gently pull the paper away from your circle. I guess this is tearing but I find if I think I'm tearing I destroy the circle. Be very gentle when separating. This is all you can do for now. The paper must be completely dry before you can move onto the next step.

The tools I use in the next step are brushes. At first I used a couple of toothbrushes. Getting a very firm brush and a medium brush worked for me. As I progressed I went to the brushes sold in the web. They give your bear a fluffy appearance. I wouldn't invest in the brushes unless you are serious about making bears. I also have a pin or small nail around. There are tools that you can buy that are fancier than this. It is up to you if you want all these supplies around. The glue I use is a simple craft glue that is thin. You don't want a lot of glue or your bear takes on a hard appearance. Chalks add highlights and white and black pens give the final definition. The nose is comes from a dog paw paper punch.
Once the paper is dry it is time to start fluffing your paper. Working on the front of the paper start brushing the paper from the center outward. Don't be aggressive in your brushing. Remember paper coming off in your brush means the less on your bear. If you are going to layer your circles brush some center fibers from the lower ring so the layers lay flat.
When I am happy with the appearance of my circle I begin layering. If all I am using is the white muzzle then that is glued into place as well as the ears. If I am layering I glue one layer and then brush out the edges. With the muzzle if you are layering it is fun to use a gel pop dot to give a snout look.

I chalk the ears, the area between the eyes and cheeks. I know those who chalk around the edges of the circle to give definition. I have done this but have gone for a more simplistic look. The eyes are ovals that can be colored or if you prefer you can look on eBay for paper eyes. The final step is the pens. White give the nose definition and black for mouth, eyebrows and eyelashes.

Taking a child's or if you are fortunate, an artist's paint brush paint with water around each circle. Don't get too much water on the paper. Keeping your water on the line make sure you soak through to the front. I find that painting around the circle a number of times with less water will keep you from soaking your entire circle.
Once your circle is wet, gently pull the paper away from your circle. I guess this is tearing but I find if I think I'm tearing I destroy the circle. Be very gentle when separating. This is all you can do for now. The paper must be completely dry before you can move onto the next step.

The tools I use in the next step are brushes. At first I used a couple of toothbrushes. Getting a very firm brush and a medium brush worked for me. As I progressed I went to the brushes sold in the web. They give your bear a fluffy appearance. I wouldn't invest in the brushes unless you are serious about making bears. I also have a pin or small nail around. There are tools that you can buy that are fancier than this. It is up to you if you want all these supplies around. The glue I use is a simple craft glue that is thin. You don't want a lot of glue or your bear takes on a hard appearance. Chalks add highlights and white and black pens give the final definition. The nose is comes from a dog paw paper punch.
Once the paper is dry it is time to start fluffing your paper. Working on the front of the paper start brushing the paper from the center outward. Don't be aggressive in your brushing. Remember paper coming off in your brush means the less on your bear. If you are going to layer your circles brush some center fibers from the lower ring so the layers lay flat.
When I am happy with the appearance of my circle I begin layering. If all I am using is the white muzzle then that is glued into place as well as the ears. If I am layering I glue one layer and then brush out the edges. With the muzzle if you are layering it is fun to use a gel pop dot to give a snout look.
I chalk the ears, the area between the eyes and cheeks. I know those who chalk around the edges of the circle to give definition. I have done this but have gone for a more simplistic look. The eyes are ovals that can be colored or if you prefer you can look on eBay for paper eyes. The final step is the pens. White give the nose definition and black for mouth, eyebrows and eyelashes.

Thursday, September 1, 2011
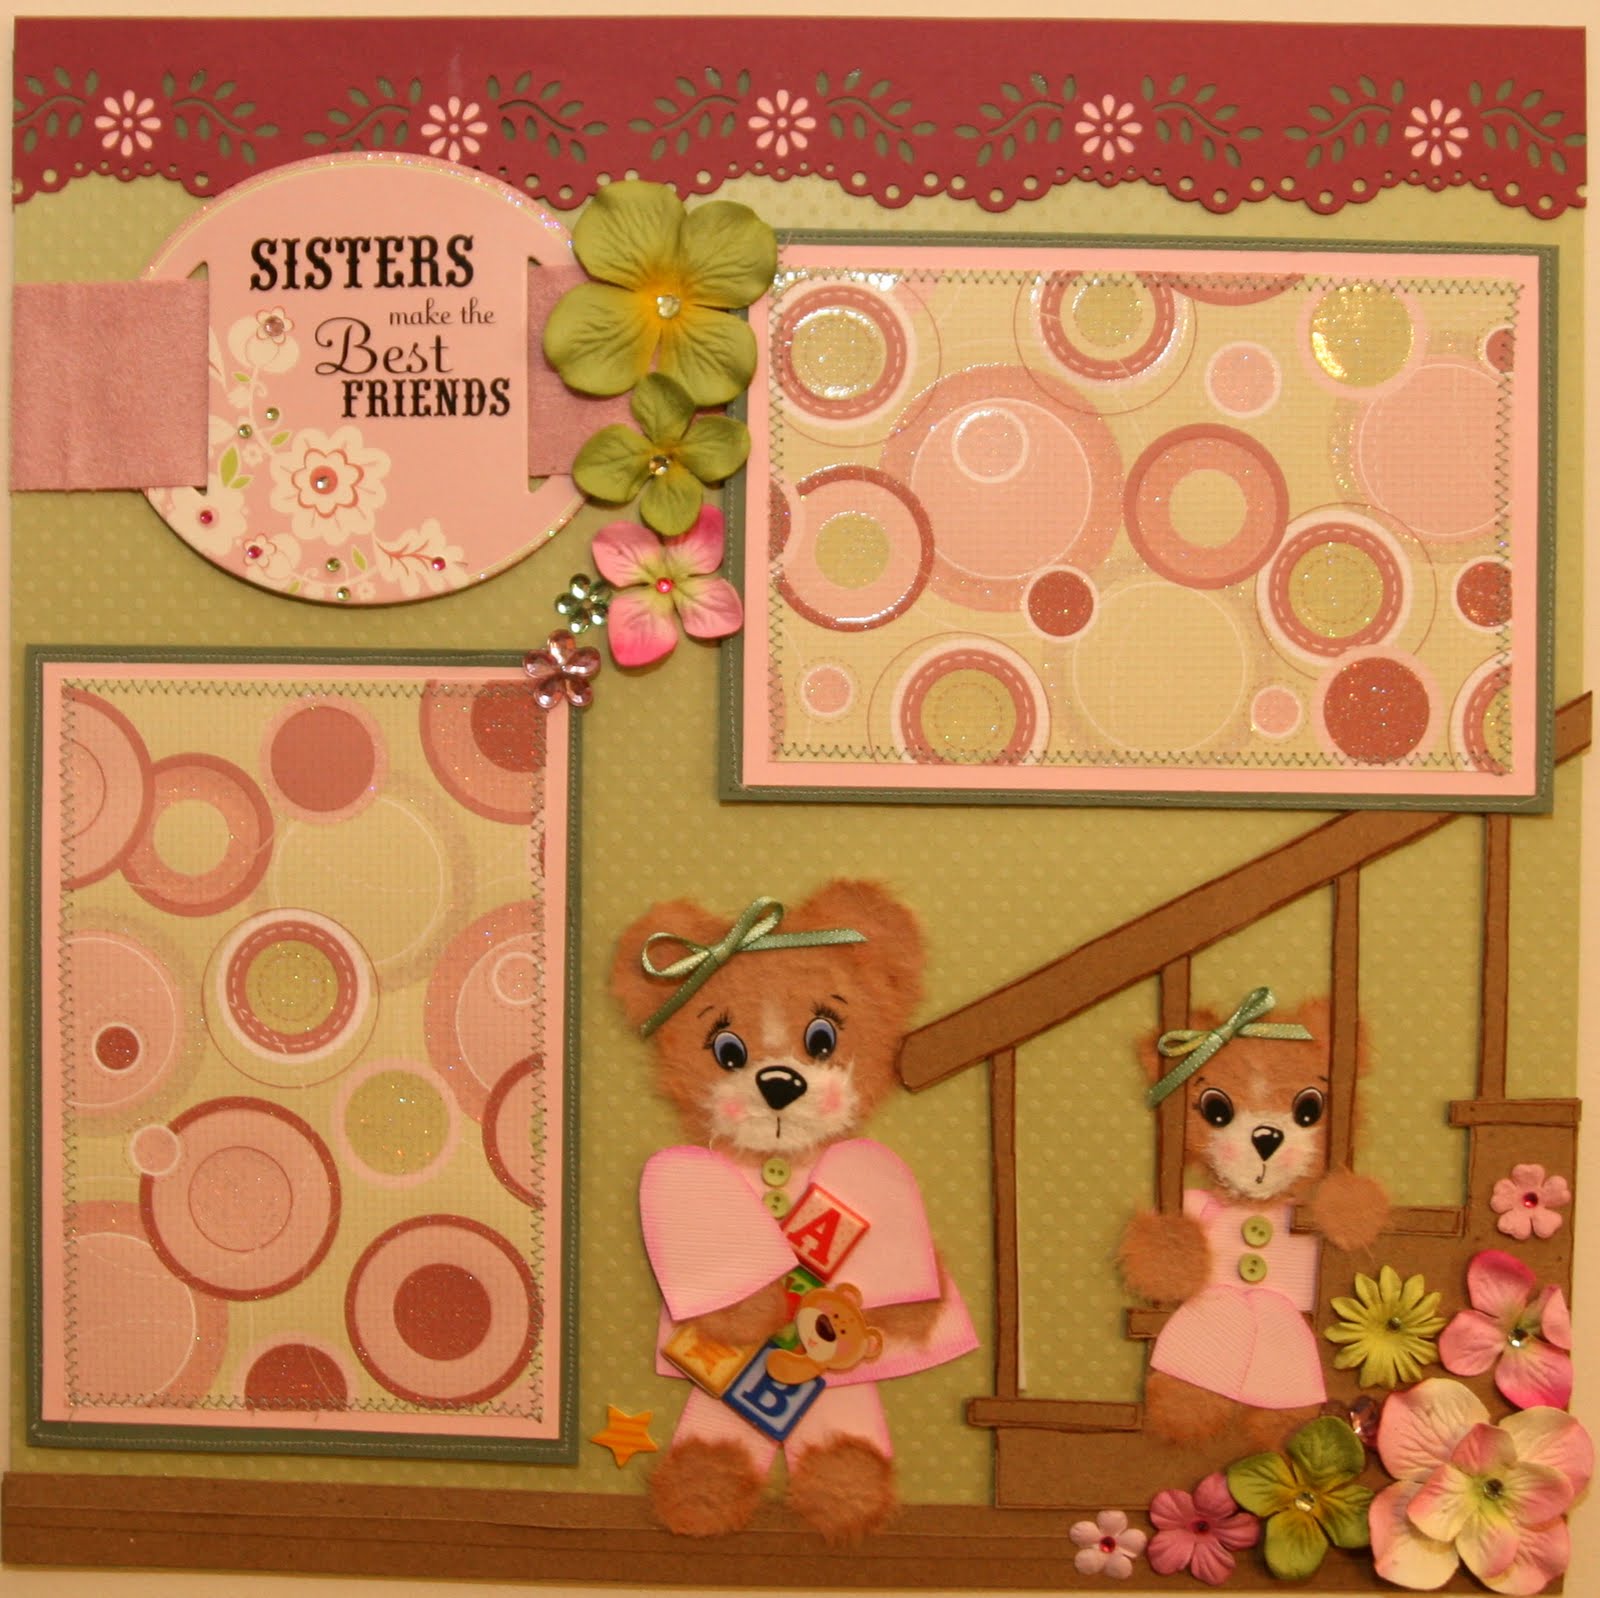
Tearbear or Tear Bear

Making a tear bear begins with Mulberry Paper. The paper gets its name from the Mulberry plant and is most widely used by Japanese to make paper in rice screens. Tear bears must be made from a high quality, very thick paper if it's to have a fur appearance. There are numerous places to buy paper. My favorite site is http://www.thebearyscrap.com/. Ebay is also a good place to find Mulberry paper but I won't buy paper from foreign seller.


Mulberry paper is sold in packages of 1 to 5 (8 1/2" by 11") sheets. I buy the package of 5 in the colors needed for the bears. For any other color I only buy one sheet and that can last for a very long time. I like the light colors for my bears unless I am making a panda. The cost for the highest quality Mulberry paper should be under a dollar per sheet.
The Tearbear shown was not layered so it doesn't have a furry, thick appearance. When just starting out it is easier to learn by not expecting too much from yourself. Keep it simple to begin by using one layer.
The basic shape is a round head with a round snout and 2 half circles for ears. Arms, body, legs, hand and feet can be added or you can have your bear in any outfit you can think of. The entire bear is usually 4 inches or smaller.
Subscribe to:
Posts (Atom)